
Our next Papercrafts class (June 30, 6:30 p.m.) will have “stars” as its theme, in anticipation of the Independence Day holiday. But stars can be used for so many occasions: “you’re a star,” Christmas, award party events, and more. Our papercrafts class repurposes old books or other random papers (the shiny stars were from the DVD cover for the movie “Exodus, Gods and Kings”).
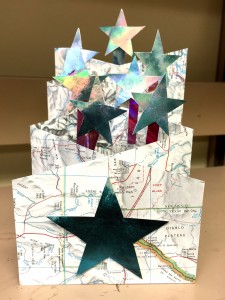
I’ve been wanting to make a cascading card, so I made this sample for our class:
For the purposes of this tutorial, I used paper from an encyclopedia that was falling apart. Part of the reason I chose this paper is the size of the book. The paper for this card begins with a sheet that is 8″ x 12″.
Mark: 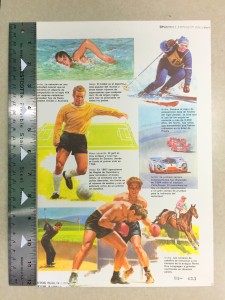
On the 12″ side, make tic marks at 2, 4, 6, 8, and 10 inches on both sides of the paper.
Score: 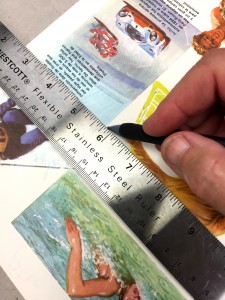
Score the paper at the 2, 4, 8 and 10 inch marks. (Note: do NOT score at the 6″ tic marks.
Pencil: 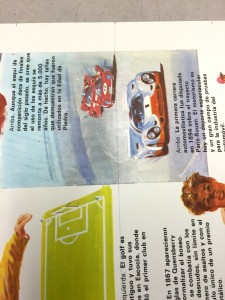
Draw a faint pencil line at the 6″ mark (without scoring).
5.5″: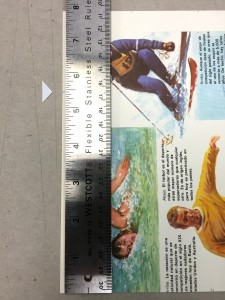 2.5″:
2.5″: 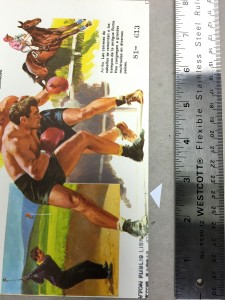
On the 8″ side, make a tic mark at the 5.5″ line on the left side of the paper. On the right side of the paper, make a tic mark at 2.5″.
Cut: 
Cut along the line from the left tic mark to the right tic mark.
Fold: 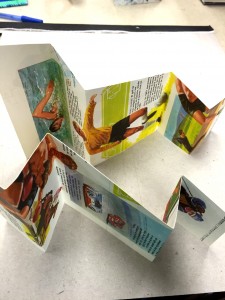
Fold accordion-style on the score lines (note there is no score at the 6″ line).
Measure: 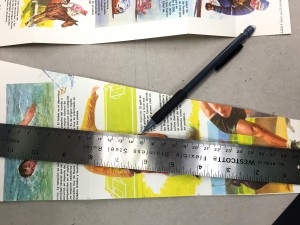
Lay the paper horizontally, with the widest end on the left. At the longest score line, make a tic mark at 2.75″. At the shortest score line, make a tic mark at 1.25″. Line up your ruler at the tic marks and make a third tic mark along the pencil line in the middle (the 6″ faint pencil line). Mark both halves of the paper in this way.
Cut : 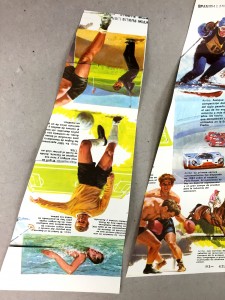
Lay both halves so that the straight edge (not the diagonal edge) on the 12″ side is facing you. On one half cut from the bottom up along the score lines with the tic marks (at the 2″ and 10″ lines), and the pencil line (at 6″). On the second half, cut from the top down along the score lines with the tic marks (at the 2″ and 10″ lines), and the pencil line (at 6″).
Slide the bottom half onto the top half at the cut lines: 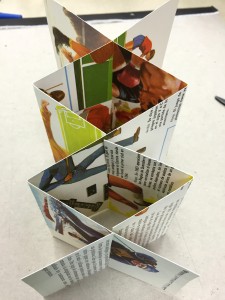
Flatten the card so that the front and back of the Cascade Card are flat: 
Add embellishments: 
On this card, since the page was sports-themed, I added balls from different sports. They look like they’re suspended because I used scrap laminating film, cut in strips to elevate the balls above the card.
–Susan