
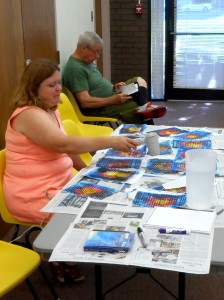
Watercolor Workshop with 8-12 year-olds
The Summer Reading theme for 2015 is all about heroes. So we had a watercolor workshop that mimics the explosive comic book style popular in graphic novels.
Here’s a list of materials: 2 sheets of watercolor papers – the background is 6″ by 9″ and the foreground lettered paper is 3″ by 6″, watercolor paints in 3 colors (we used Winsor-Newton Winsor Blue (Green Shade), Cadmium Yellow Pale, and Permanent Rose), water, brushes, black gesso, pencil, markers, scissor, salt grinder, straw, squirt bottle, glue and a plastic spoon. The kids enjoyed working with artist quality materials. Their experience of watercolor is enhanced when the paints are vibrant and the paper stays relatively flat.
Here’s how we made our explosive watercolors:
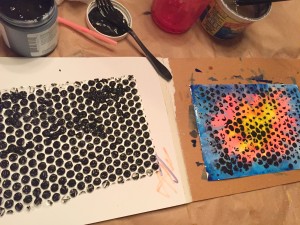
We wet our 6 by 9 sheet of watercolor paper with clear water so we could see the shine of water, but without puddles. We painted pure yellow radiating strokes in the middle of our paper, then we painted red strokes radiating around the yellow, and finally we painted blue strokes radiating around the red and to the outside of our paper.
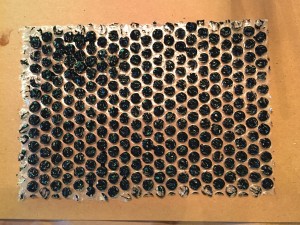
Then we dipped the back of our plastic spoons into the black gesso and smoothed it over the bumpy side of the 6 by 9 sheet of bubble wrap so that the raised portions of the bubble wrap were covered. We carefully placed the gessoed side down over our watercolor and gently pressed, being careful not to move the plastic. Then we carefully picked up the bubble wrap from our painting and admired the black dots on our painting! We took these to Ms. Amy who had the blow dryer going to speed the drying process.
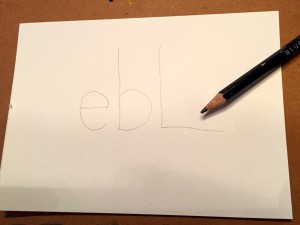
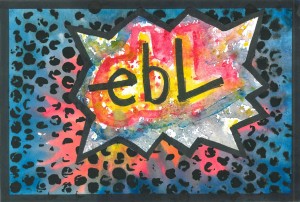
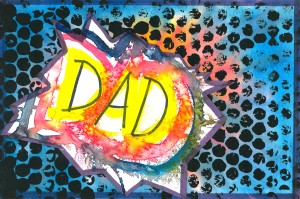
Now we took our smaller paper and drew the letters on it. Some used the initials of their name. Since we were coming up on Father’s Day, some penciled “DAD” on their paper. We made sure not to make our lettering too large because we had plans for the space around the letters.
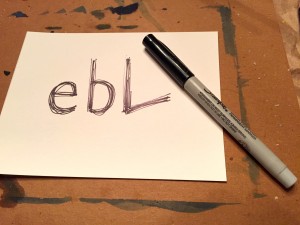
Then we used markers and made our letters nice and bold.
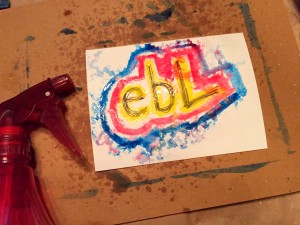
We painted a yellow outline over and around the letters, then red paint around the yellow paint, and finally blue paint around the red paint. We gave our painting a spritz or two (don’t overdo this!) to watch the colors blend.
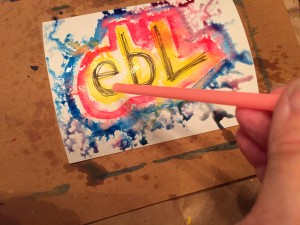
We blew through our straws to move the colors toward the outer edges of our paper.
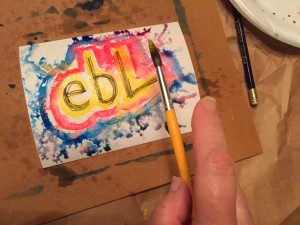
We splattered some paint by tapping on our loaded brushes, especially using our yellow and red colors, just to add some interest.
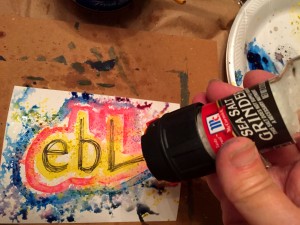
We used a salt grinder to put some salt on to our paintings. It’s lots of fun to watch how salt affects watercolor! These paintings were now ready to dry.
To finish our projects, we cut explosive triangle shapes around our lettered artwork, and used marker on all of the edges of both paintings. Then we glued our letter artwork on to our dotted background artwork. We found that often times, they looked a little better is they were off-center when positioning the letters on the background.
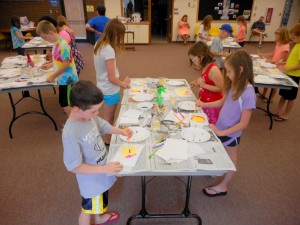
The kids had a lot of fun and some very vibrant artwork to take home with them!
–Susan