Yes, it’s only Fall, but Christmas is coming! And this project could be adapted for many seasons by changing the leaf shape and adornments.
Supplies: old book pages, scissors, acrylic paint, tape, wire, glue, and beads or other adornments.
Step 1:
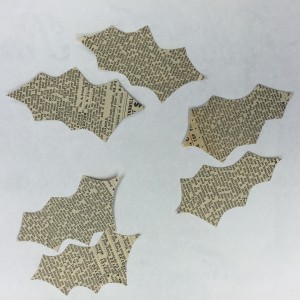
To make 3 holly leaves, cut two identical (for the front and back of the leaf) leaf shapes for each leaf. I cut these free form, without a pattern.
Step 2:
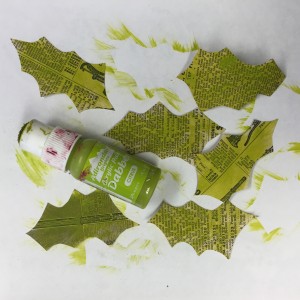
Paint the side of the leaves that will be visible with acrylic paint. I used a light coat so the print of the book is visible.
Step 3:

Cut a piece of thin, bendable wire to about 3 times the length of the leaf. Tape one end of the wire to the middle inside of one half of each leaf.
Step 4:
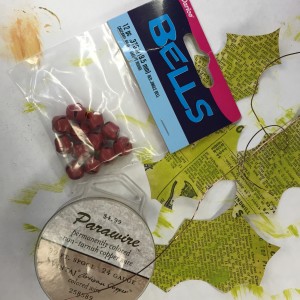
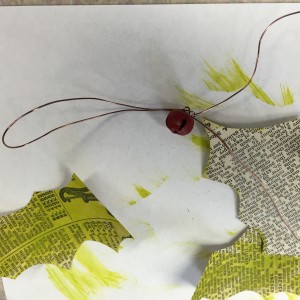
I used miniature red bells for the holly berries, but beads or buttons would work, too. Thread the “berry” onto the wire, loop it through the eye again to hold it in place near the base of the leaf. Then double the wire and secure it by twisting it around the eye again, or around the wire between the “berry” and the leaf base.
Step 5:
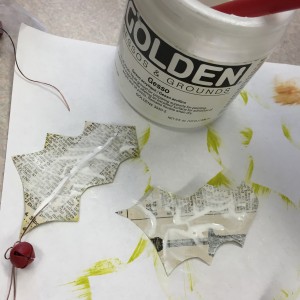
Apply glue to the insides of the leaf halves. I used gesso, but other glues would work, too.
Step 6:

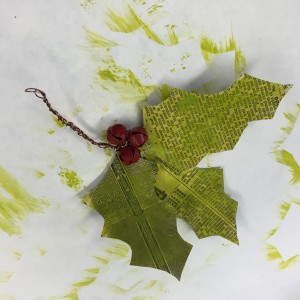
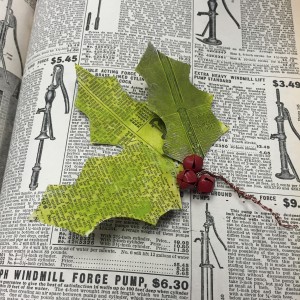
Twist the wires of the three holly leaves together.
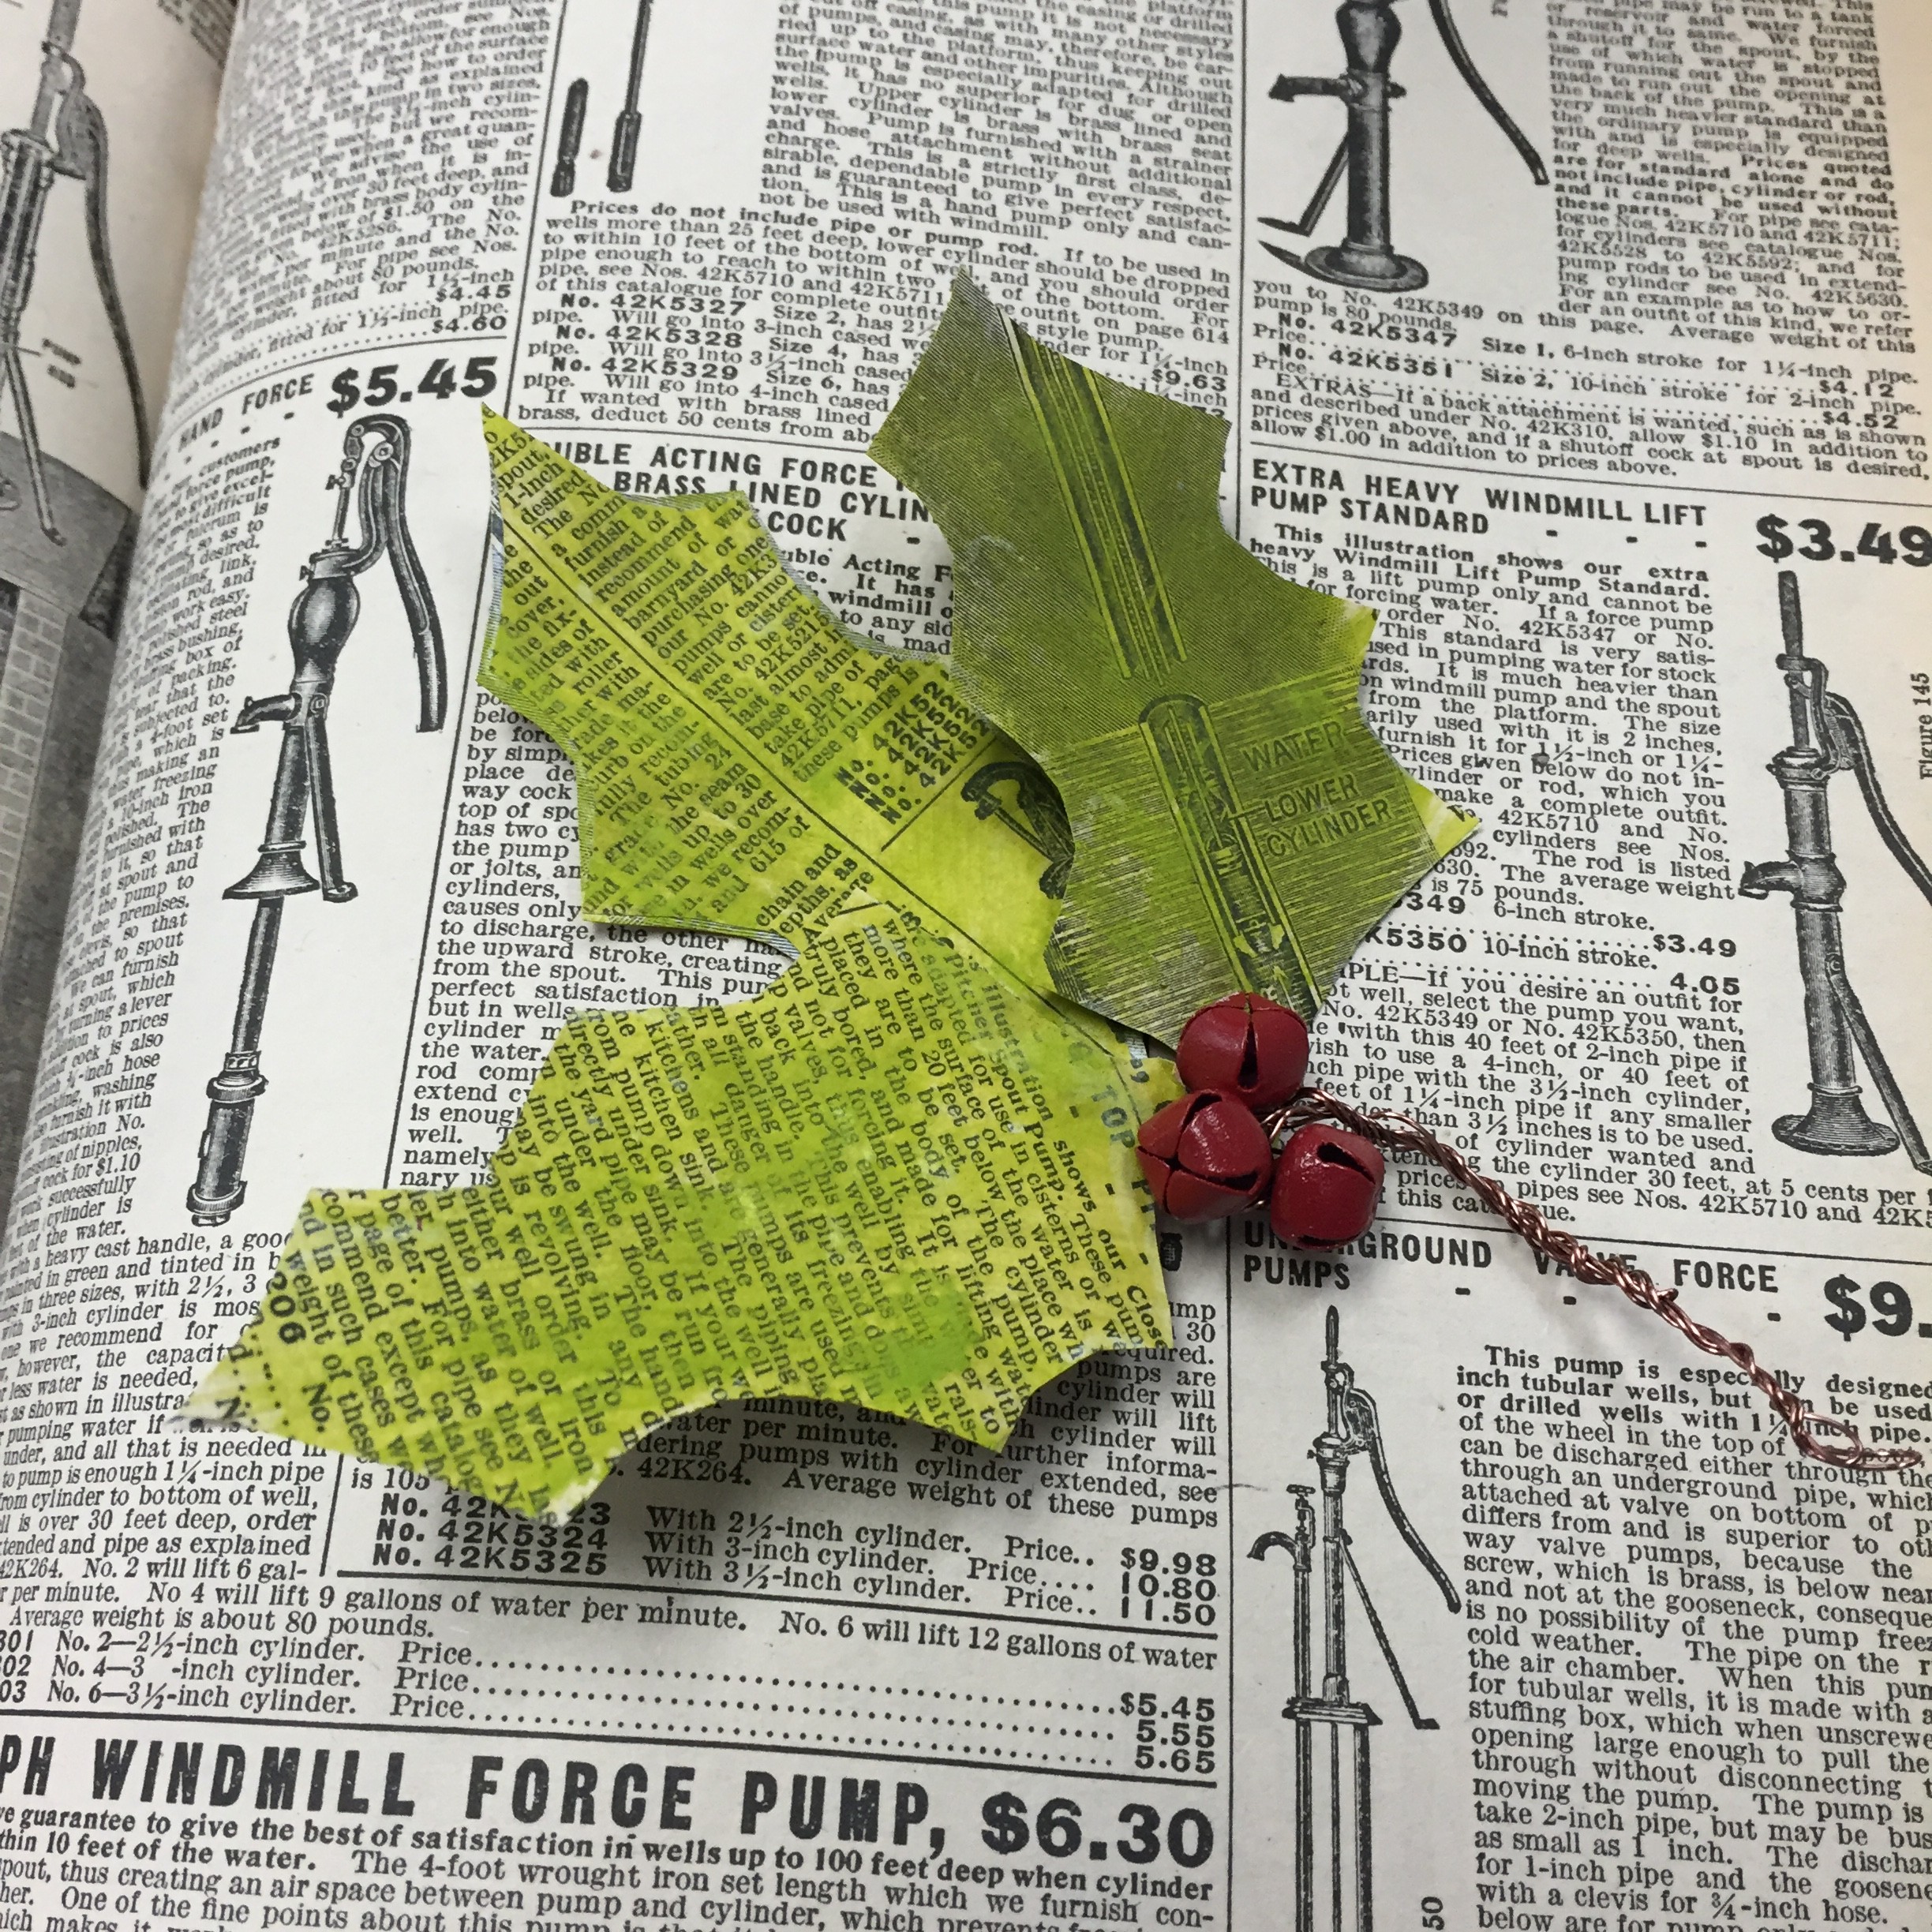
Your package topper is ready, and looking very festive!
–Susan